Glast's GIMP Tutorial
GIMP (GNU Image Manipulation Program) is a powerful and free raster graphics editor for Windows, Mac and Linux. It is available for download at http://www.gimp.org/ and comes pre-installed with many popular Linux distributions.
Tips and tricks for those who have never used GIMP
- ctrl + mouse wheel is used for zoom in and out
- The middle button of the mouse is used to move the visible area
- xfc is the native file format for GIMP
- Layers are very useful and can be used for keep your work at a different step
- GIMP is a reliable tool, not Windows. So save often. Unless you are under Linux ;)
Choose a picture
The unteachable part of this tutorial. My advise is, when you see a picture you must in the same time see what you want to to. For this example, I saw a doll like robot.
Make the girl flawless
For me a fembot must have no imperfection, so the first thing to do is to remove all the moles, wrinkle, etc. If you want a 'human like' fembot, you can pass this step.
Open the file 'original.jpg'. This is the rough file from Internet.
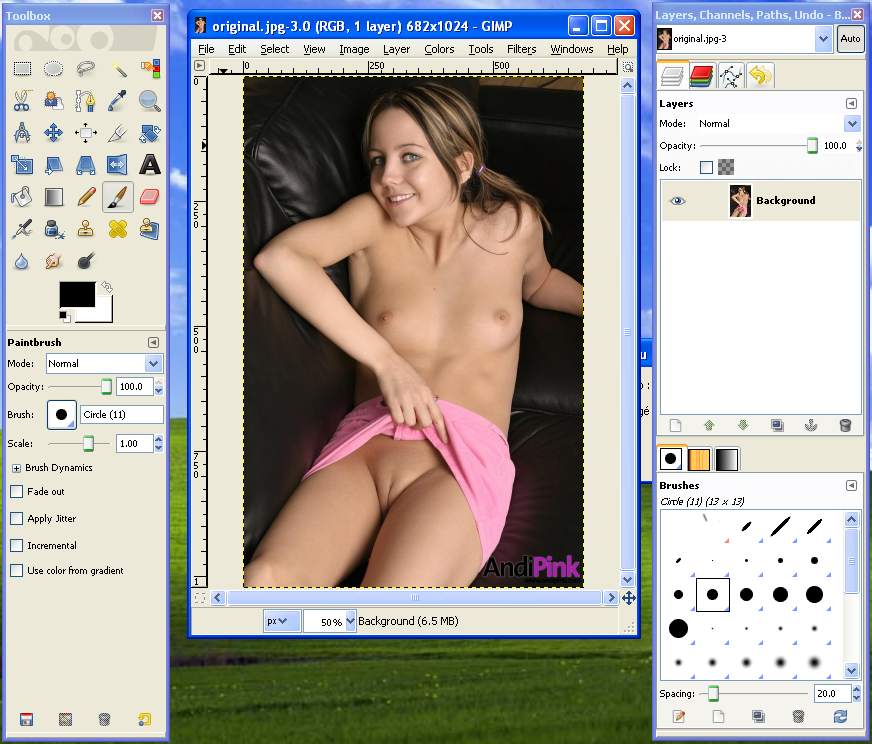
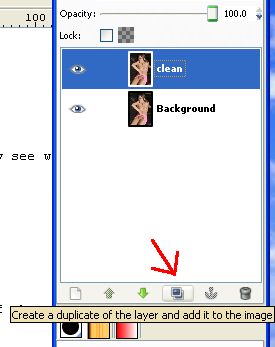
The first thing to do is to duplicate the background layer. With this we always have a backup of the original image. Name the new layer 'clean'.
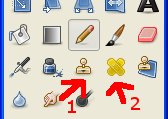
We have two tools with what we will remove the imperfections.
The first one is the 'clone tool', with it we can duplicate a part of the image and copy it to an other area. The second is the 'healing tool' which is basically the same as the previous but the border of the cloned part is merged with the image, so is the perfect tool to remove moles.
Select the Healing tool with the brush : 'circle (15)'. Do a ctrl + left click on a clean area of the skin of the girl.
Do the same for all the imperfections.
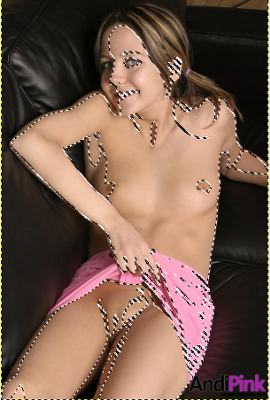
Now we will blush her skin. Use the 'fuzzy select tool' to select some part of her skin.
If you clic on the skin, a contiguous region will be selected. If you keep the left button pushed and in the same time move your mouse, a bigger region will be selected.
You can add some area to your selection by reuse the tool with the shift key pushed (ctrl is for remove selection). Try to select only skin area, not details (like tits or eyes).
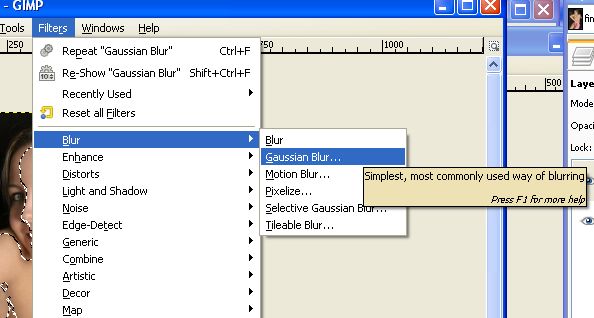
Use the Gaussian blur and put a value about 3 or 4.
Remove her sex
Duplicate the layer to have a restore point ('without sex'). With the 'healing tool' remove her sex. To do this, select (with ctrl+left clic) a clean area and remove any trace of her sex with multiple clics.
Set a panel
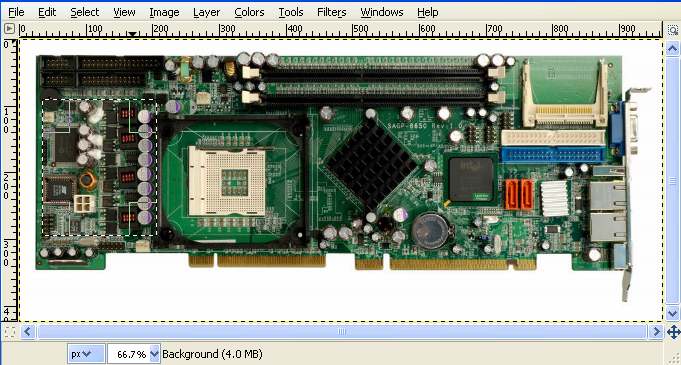
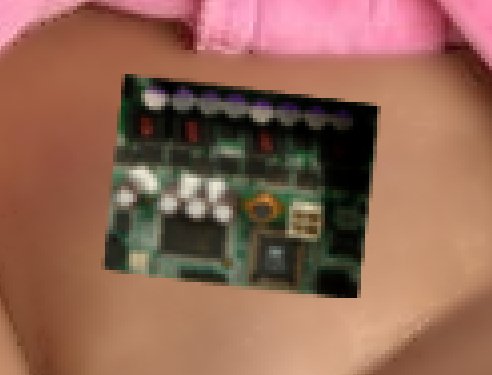
Create a layer named 'panel'. Open the file 'panel.jpg'(Media:Gimp_Panel.jpg). Select a rectangle region
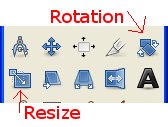
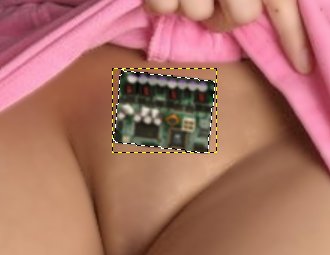
Copy and paste it into the layer 'panel' of your image (be sure you have the panel layer selected). The pasted panel is too big for our image and it's not in the right direction. We have to use the 'rotate tool' and 'scale tool' in order to put the panel in good position.
To make the illusion that the panel is behind the skin, the key is the shadow. Look where the light is coming. In our example is from the upper right. We will use the burn tool (the last in the toolbox). Prefer a circle fuzzy brush to have a gradient. Add more shadow on the upper right area of the panel.
Seals
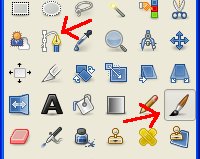
Duplicate your 'without sex' layer, put the name 'seals' to the new layer. Create a layer 'map'. This layer will be used for the bump mapping. With painbrush tool, set au circle fuzzy (03) brush, then select the 'Paths Tool'.
Choose a white color. We will draw line which will be transformed into seals.
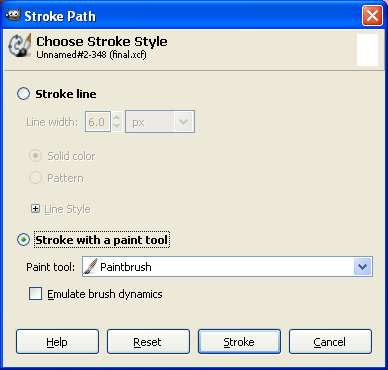
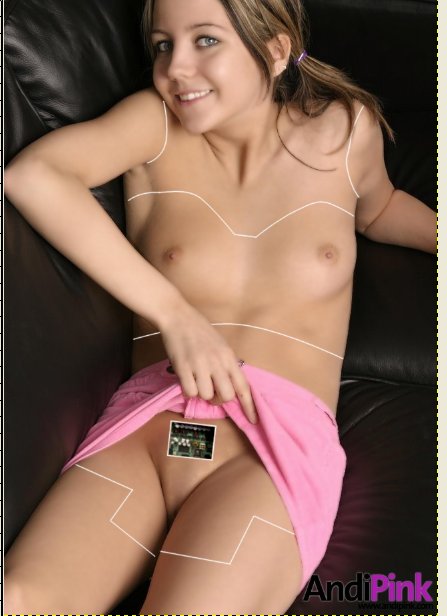
Use path tool to create geometric lines. Draw a rectangle around the panel 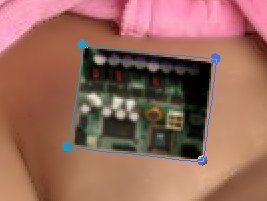 then Stroke the path with the paintbrush tool.
So the same for other seals.
To make bezier curve with path tool, keep the left button pushed and move your mouse.
Put the map layer to its invisible state (the eye on the right of the layer name). Then select the seals layer.
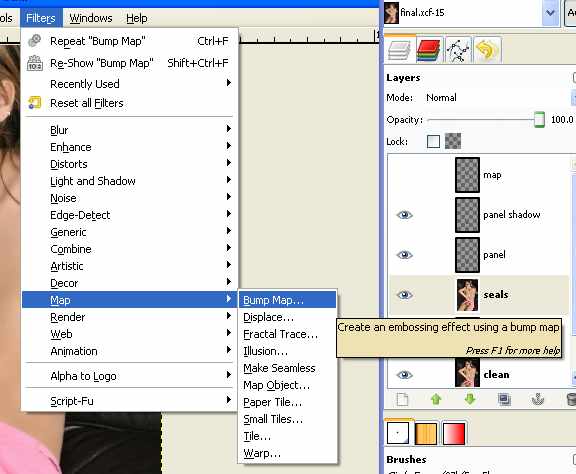
Open the bump mapping filter.
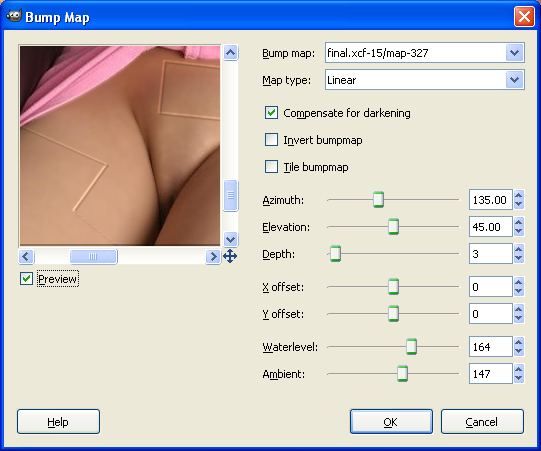
Into the bump map combo, select your map layer. Put the same value as in the screen shot.
Last step: save your work into a jpg file.
